O Scale - From Collector to Modeler


April 2014 Layout Update I have attached a few photos so you can see the impact that your buildings and figures have had on my layout. Needless to say, anyone who saw the previous version and has seen the newer one can't believe the improvements. I still need to do some minor things (pavement striping, concrete painting, a few electrical modifications, etc).
I got into this hobby by accident, about 6 or so years ago. I was Christmas shopping at a toy store and was surprised to see the Polar Express, and that Lionel was still in business (like most adults, I can remember the train set my parents bought us when we were kids). After some research, I found a couple of local train stores, and visited them to see what else they might have. Everyone puts pictures and artwork on their walls - why not trains? The more I bought, the better the wall looked. I became hooked.
As my collection took shape, the owners of my favorite hobby shop started telling me that it was a shame to have a collection like this, and not have a layout to really enjoy it. So, last year I built a basic 18 by 8-foot layout and since it had to stand above my dining room table and pool table, I designed it to be temporary. I built a series of 4x8 and 2x8 tables using 1x4s, with 2x3 legs to hold them up. I designed the legs to just drop out of the bottom to make it easy to take the table down.
I used 2-inch thick Styrofoam sheets to cover the tables, and cut various shapes to simulate hills and for elevating trains to reach a bridge. I used Lionel FasTrack and switches. When I saw that the switches use ordinary telephone wire, I cut the wires, added quick disconnects and extensions, and ran the wiring under the layout and into a central control panel that I built. The layout had some problems - my layout was barren, I didn't like the sound of the trains running on Styrofoam - it sounded tin-like, and I al learned that on a small layout, O scale trains can struggle going uphill - they really need a long, gradual grade.
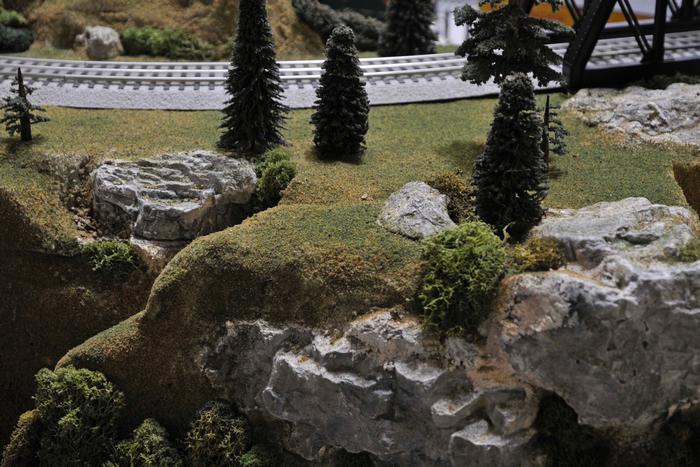
I disassembled the layout and began gathering ideas to improve the design. I found a lumberyard that sells Homasote board, and most importantly, I learned about Woodland Scenics, and how to add realistic scenery. I have used a number of your products, and I can tell you that when people see the realistic rocks and ground covers they just stand there in awe of the entire layout. Great trains require great layouts.
In January 2011, I began constructing my new layout, now 20 feet long by 8 to 10 feet wide. I included an upper level for the main town, which resides above a turnaround area for the lower-level trains. My upper level track is a 48 curve; the two lower lines use a 60 and 72 curve. I laid down the Homasote board, and used the Styrofoam as a foundation for hills/mountains. I wanted my streets to be at the same level as the top of the train track, so I placed my town structures on top of half-inch thick Styrofoam sheets.
Thanks to Woodland Scenics products (and your Internet videos), I was able to successfully build realistic shapes for hills, mold rock faces, apply ground cover, model a stream bed, etc.
My pride and joy was the wooden portal I built from scratch. Some O scale portals are too short to accommodate Lionel's Husky stack container cars. Using a piece of quarter inch thick plywood and a lot of small popsicle sticks (stained to a darker color), I was able to create something based on a photograph.
I stopped working on this layout In April, kept it up for a few months, then took it down to get my house back. My great nephews are scheduled to come out for a visit this spring. I plan on putting the layout back up this coming April, and doing a few weeks of improvements before they get here. For example, now that I know the final placement of track and hills, I will use Woodland Scenics products to cover the sections of Homasote board that remain uncovered. And of course there will be additional bushes, trees, and rocks - there is no such thing as a completed layout, is there?
Mine is clearly an amateur layout. I wish I had a house where I could build a much larger and permanent layout that mimics the incredible layouts we see in magazines. But regardless, it looks a lot better than just track on a piece of plywood, so I am content with it.
Keep up the great work - you've got great products!